When it comes to achieving a flawless, long-lasting finish for your floors, getting the application of cement screed right is crucial.
Whether you’re working with sand screed, sand and cement screed, or other variants, even small mistakes can lead to costly issues down the line.
Keep reading to uncover the top five common mistakes people make during the process and how you can avoid them to ensure perfect results every time.
1. Skipping proper surface preparation
One of the biggest mistakes when applying traditional sand and cement screed is neglecting surface preparation.
A poorly cleaned or uneven substrate can lead to weak adhesion and cracks. Dust, debris, or even moisture trapped on the surface can compromise the integrity of your screed.
How to Avoid It:
Always ensure the surface is clean, dry, and level before applying the screed. Use a primer if necessary to enhance adhesion and reduce absorption. This small step can save you from expensive repairs later.
2. Using incorrect mixing ratios
Getting the mix right for your sand cement screed is essential.
Too much water results in a weak, brittle screed prone to shrinkage and cracks, while insufficient water makes the mix unworkable.
Similarly, the wrong proportion of sand and cement affects durability and strength.
How to Avoid It:
Follow the recommended mix ratios carefully. For traditional sand and cement screed, a typical ratio is 1:4 or 1:3. Always measure accurately and avoid “guesswork” during mixing.
3. Overlooking curing and drying times
Patience is key when working with cement screed.
Rushing the drying or curing process can cause cracks, warping, or even failure of the screed layer. This is especially true for environments where consistent strength is vital.
How to Avoid It:
Allow adequate time for the screed to dry and cure. On average, a thickness of 50mm requires about 7 days of curing and 28 days to dry fully. Use curing agents or cover the screed with a plastic sheet to retain moisture and prevent rapid drying.
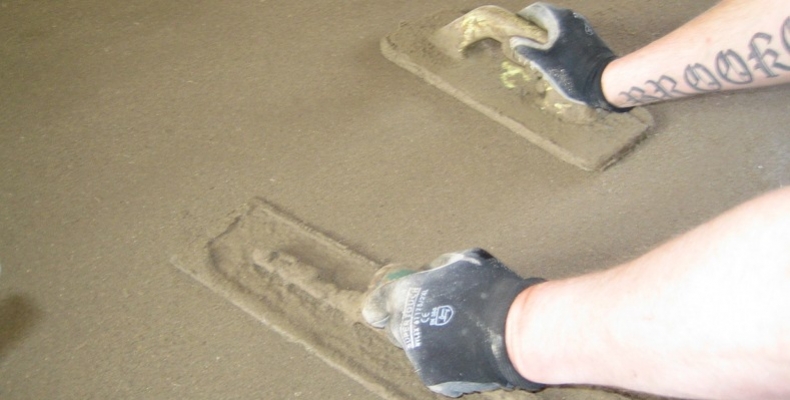
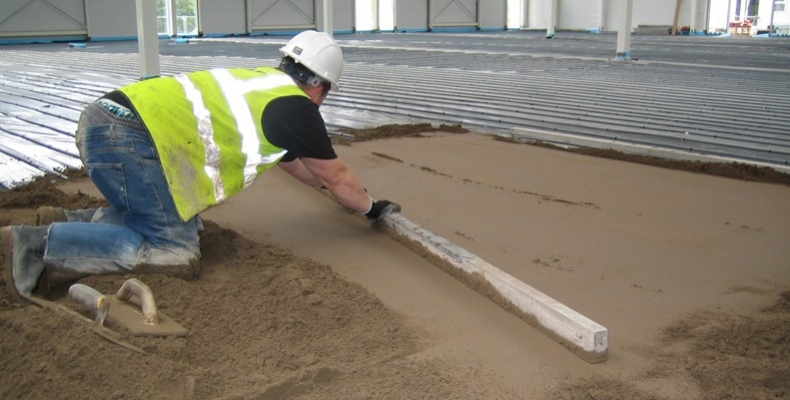
4. Uneven application or poor levelling

Achieving an even surface is a challenge, but any irregularities in the screed can create an uneven floor, leading to issues during the installation of floor finishes.
How to Avoid It:
Use levelling tools like screed rails or battens to ensure uniform thickness. Always check for dips or uneven areas during the application and smooth them out before the screed sets. A skilled hand is vital, so consider hiring experienced professionals if you’re unsure.
5. Neglecting the right screed type for the job
Not all screeds are created equal. Choosing the wrong type, whether sand screed, cement screed, or a combination, can lead to poor results depending on the environment and intended use.
How to Avoid It:
Assess your project’s specific requirements before selecting a screed. For instance, sand and cement screed is ideal for internal floors with light to medium traffic but may not perform as well in high-impact or outdoor areas. Consult an expert to ensure you’re making the best choice.
Avoid mistakes with reliable materials
Getting your sand and cement screed application right doesn’t have to be daunting. By avoiding these common pitfalls and using high-quality materials, you can ensure a durable, long-lasting finish.
Looking for dependable products to perfect your project? Explore our traditional floor screed options today.
Whether you’re working on a residential property or a commercial project, JCW Floor Screeding has everything you need for a professional finish.
Want to know more?
The key to a successful screed application lies in preparation, precision, and patience. Avoiding these common mistakes will help you save time, money, and stress in the long run.
Don’t leave your project to chance – trust our experts and contact us today for advice, materials, and everything else you need to get started.
Give us a call on 01204 387 029 or email your queries to estimating@jcwgroup.co.uk and we’ll get back to you ASAP.