When it comes to finding floor screeding contractors in the North West – be it Cheshire, Cumbria, Greater Manchester, Lancashire or Merseyside – look no further than JCW Floor Screeding.

With more than 25 years’ experience, we are experts when it comes to supplying and installing screed for self-builders. Our screeds include:

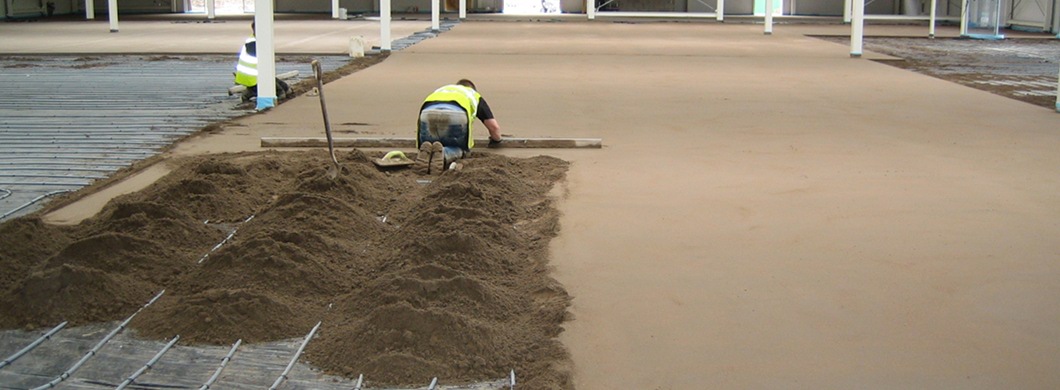
All our traditional sand and cement screeds are guaranteed to provide a smooth level floor surface. They are most popular for projects in the North West, and providing they are overlaid with a suitable floor covering, can be used in all locations, ranging from apartments and shops to extensions and conversions.

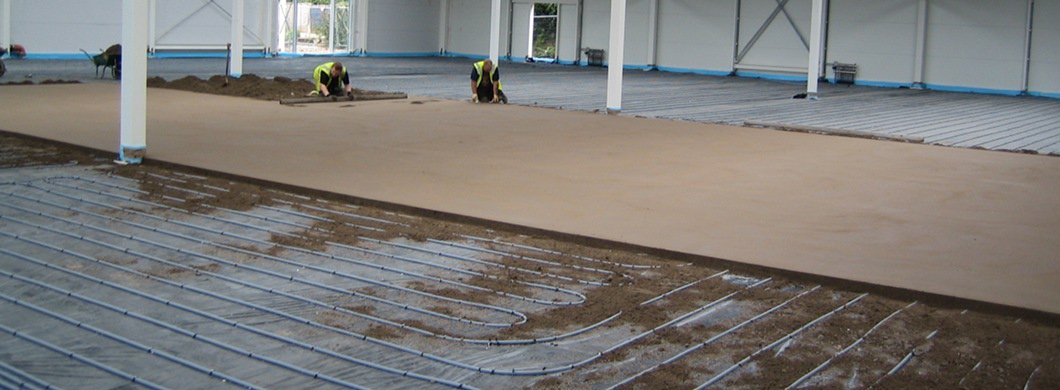
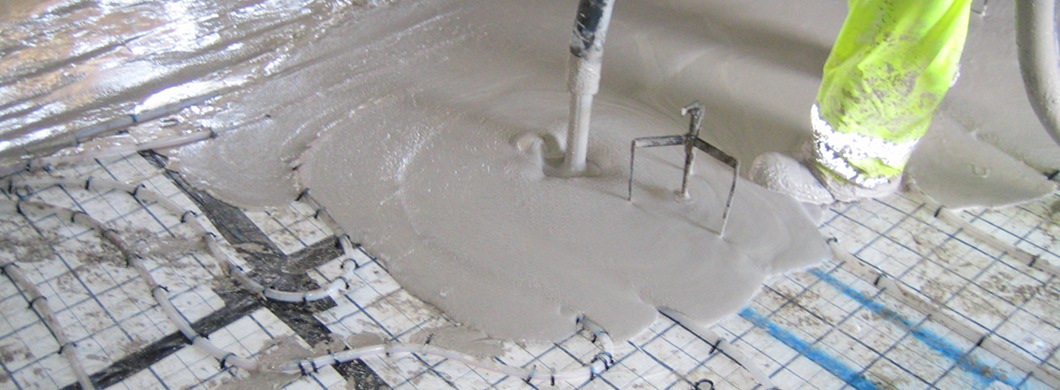
Floor screed can also encapsulate underfloor heating pipes – keeping them secure and ensuring your system works efficiently.

Request A Quote for Floor Screeding in North West

[]
1


Enquire Now!
Nameyour full name
Phone No.contact number
Message...enquiry details
0 /
Previous
Next


If you’d like to know more about our floor screeding products and services in the North West, request a free no-obligation quotation today.

Email architect drawings to us at estimating@jcwgroup.co.uk and we’ll review them, taking into careful consideration the area being treated and the required materials. If necessary, we can schedule free site visits before your project starts – identifying issues before we quote and install floor screed in the North West.

At JCW, we provide a quote within 48 hours, along with a timing plan, ensuring every aspect of your project is covered.

If you’re happy for our North West screed team to proceed, let us know within 5 working days and we’ll get started as soon as possible.

Why JCW for floor screeding in North West

Here at JCW, we understand the difficulties associated with managing a self-build project, hence why we work closely with you to ensure our floor screeders fit in with sub-contractors, architects and developers.

Taking on a self-build project in the North West can be demanding but we offer total peace of mind thanks to our comprehensive public liability insurance and strong health and safety culture. We also offer after-care support so should a problem arise, you can rest assured that we’ll resolve it quickly and safely.

To find out more about the floor screeding products and services we offer to self-builders throughout the North West, contact us via our online enquiry form or call 01204 387 029.
Frequently Asked Questions

What is floor screeding?

Floor screeding is the process in which floor screed is laid over a concrete sub-floor.

The most common reason for floor screeding is to level out aa surface and ensure it’s accessible, safe and practical for everyday use.

Floor screed is also a preferred way to cover the pipes used for underfloor heating as it helps the heat be distributed evenly around the room.

Once the floor screed has fully dried, a final decorative flooring can be added, such as laminate, tiles or stone. However, sometimes industrial settings choose to leave the screed as the final finish.

There are two main types of floor screed – traditional sand and cement floor screed, and liquid floor screed. Here at JCW Floor Screeding, we use traditional sand and cement floor screed.

Which floor screed do I need?

At JCW Floor Screeding we supply and install three varieties of sand and cement floor screed.

·        Fibre-reinforced floor screed

This screed mix includes polypropylene fibres which help minimise shrinkage and cracking whilst reinforcing the dried screed. Usually, light foot traffic can commence after 48 hours, with normal site traffic returning after 7 days.

·        Fast drying floor screed

This screed contains additives which cause the screed to dry faster, meaning your final flooring can be laid sooner – often after just 5 days. To put this into perspective, usually screeds should be left for 7 days per cm of thickness before adding the final flooring.

·        Higher strength floor screed

Achieving strengths of over 30 Nmm², this screed mix is great for areas that tend to receive high levels of foot traffic – retail units and warehouses for example. Like most sand and cement screeds, light foot traffic can commence after 48 hours, but normal site traffic can return slightly earlier – after 5 days. You will likely need to wait slightly longer to apply your final flooring – your screeder will be able to advise you further when they assess your site.

If you’re unsure which floor screed is best suited to your project, get in touch with us today.

How much does floor screeding cost in the North West?

The cost of floor screed depends on the type you choose.

On average you can expect to pay around £25per m², with liquid floor screed tending to be the slightly more expensive option than traditional sand and cement floor screeds.

On top of your screed, you will need to factor in labour costs.

The location and accessibility of your site will also influence the overall price as we will need to deliver your screed onto site safely.

Here at JCW Floor Screeding, we work with you to find a solution that fits your budget. So, why not request your free quote today? Make sure to include details about your project and your specific requirements. We aim to respond within 48 hours.

Can I screed my own floor?

The simple answer to this question is, yes, you can screed your own floor.

However, although the process might sound simple at first, it can be tricky to perfect.

You don’t want to be spending money and time on your project only to find your screed hasn’t been laid properly or isn’t compact enough. Therefore, we believe it is a job best left to the professionals.

The screeding process involves 6 steps.

1.      Step one: Prepare your floor

Remove any debris, dust and dirt. Also, make sure to remove any furniture or equipment from the space.

2.      Step two: Divide your space up

Use long pieces of wood to create sections. Make sure to wet these dividers to make them easier to remove later.

3.      Step three: Add your screed

Add your screed into the section furthest away from the door making sure it’s compact.

4.      Step four: Level the screed

Some screeds are self-levelling, but for those that aren’t, use a straight edge to level the screed.

5.      Step five: Repeat

Repeat step three and four for each section.

6.      Step six: Leave the screed to dry

Leave the screed to dry. Once fully dried, you can add your final flooring.